


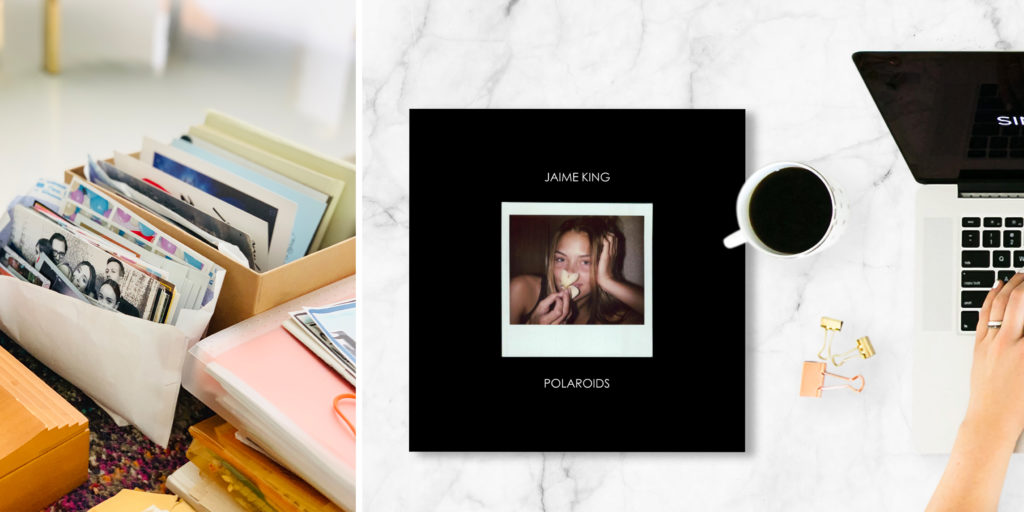
Let’s get real, now. How many boxes of printed photos and old albums are you holding on to? Believe it or not, one of the major clutter culprits we find in our clients’ homes is stacks of old photos, yellowing albums, and slowly deteriorating memory boxes.
Many of us know we have these, but don’t know where to start, and we are simultaneously so worried that we could lose these memories forever. Sound familiar? How great would it be to know you have all your photos backed up, accessible with the ability to easily share them with your loved ones?
Getting your printed photos organized and digitized is easier than you think.
For this month’s photo rescue project, we’ve teamed up with Jaime King and Mixbook to tackle Jaime’s printed photo collection so we can help her preserve her cherished memories and make sure her family and friends’ archives last the test of time. We’re also taking it to the next level by creating beautiful photobooks for the most special photos.
How to organize your printed photos:
SIMPLIFY: Declutter your photo piles
The first step in any organizational project is to declutter and downsize, and the same holds for photos. To start getting them organized, it’s important to gather your entire collection into one place. In Jaime’s case, a solid 90% of her photos were stored in one giant chest, but we needed to sort, preserve, and back them all up.
Define your why.
It’s important to start off any organizing project with a goal in mind. For Jaime, we really wanted to make sure we took extra care in getting her photos sorted, scanned, and preserved. With so many amazing memories with friends, family, and her very accomplished career, Jaime wanted to honor her special memories and also be able to access and appreciate them.
Set up your workspace
For any organizational project, you’ll need a set of tools to get you started. I recommend a notebook, pen, sharpie, post-its, trash bags, rubber bands, and about 4 to 5 sorting bins. Other optional tools: dental floss (for removing photos), white cotton gloves, photo pencil, index cards, and photo boxes.
Pull everything out and group like with like.
Just like we do with any space, we always start by pulling everything out and grouping like with like. For Jaime, this meant sorting photos from mementos, pre-made albums from loose photos, and specialty photos from duplicates and oversized prints that need to be scanned separately. TIP: separate photos from mementos, frames, empty albums, and anything non-photo related. Make a note of anything you want to bring together later.

Process your photos and categorize them.
Once we did an overall pre-sort, we started to finely organize the rest of her photos in categories that made sense to her:
- Jaime’s childhood
- Special photos
- Polaroids
- Special Family & Friends Photos
- Leo Thames’ Baby Shower
- Jaime’s work
- Kyle and Jaime’s wedding
- Family
NOTE: There’s no exact system for how to categorize your photos. The point is to organize them according to what makes sense to you and what will be easy to remember. Other common sorting categories:
- Person
- Family
- Friends
- Major Events
- Theme or Holiday
- Time/Date
- Size
STREAMLINE: Optimize your photo collection
Double-check your collection
Depending on the size of your collection, you may need several passes to get your photos sorted. Get answers from family, create a family timeline, or determine general categories for photos you can’t identify. TIP: Use rubber bands and post-its or index cards to separate your photos.
Scan your photos
It’s important to sort your photos before scanning because it’s much easier to do in print form than digital, and it will help you avoid a huge digital mess. Then you are ready to get them scanned. You can do this yourself or hire a pro. I highly recommend the latter to preserve your time and energy. Our friends Nancy and Gary McFarland do all of our sorting and scanning, and they are the best in the biz, but you can find a local company to do this for you as well, and many companies will allow you to do this by mail.
Identify and cull your favorite photos
For Jaime, we selected her amazing Polaroid collection because we knew we didn’t just want to scan these; we wanted to create a special book out of them. We bookmarked the photos and flagged them for a special project with Mixbook.
Backup your collection
Once your photos are scanned, it’s recommended to store them in at least three places. That can be an external hard drive in your home, cloud storage, or even a safe or safety deposit box.
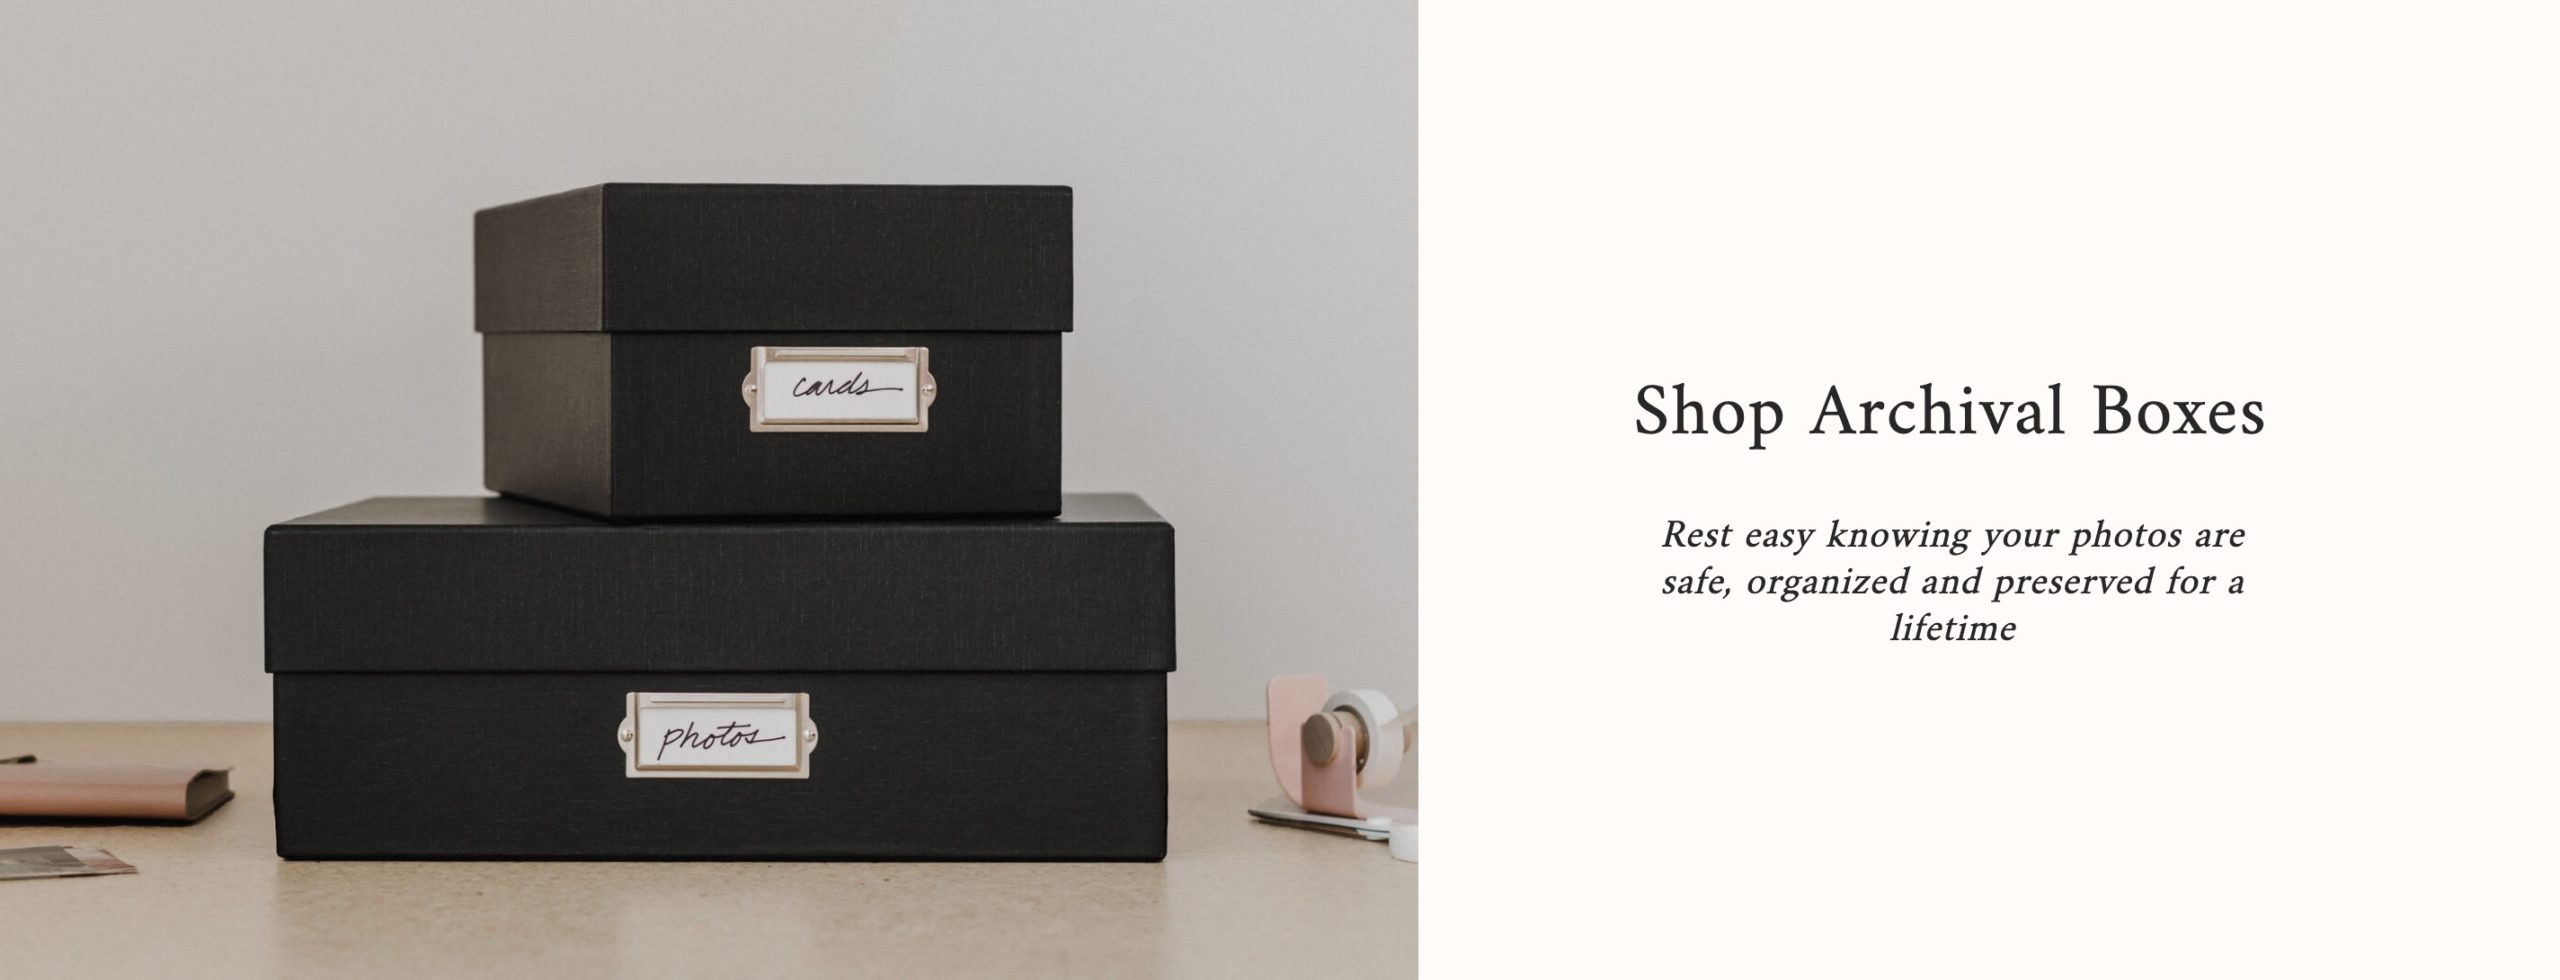
Implement storage
If you choose to keep your printed photos, think about using an archival storage box to store your collection. Check out our acid-free archival photo boxes here.
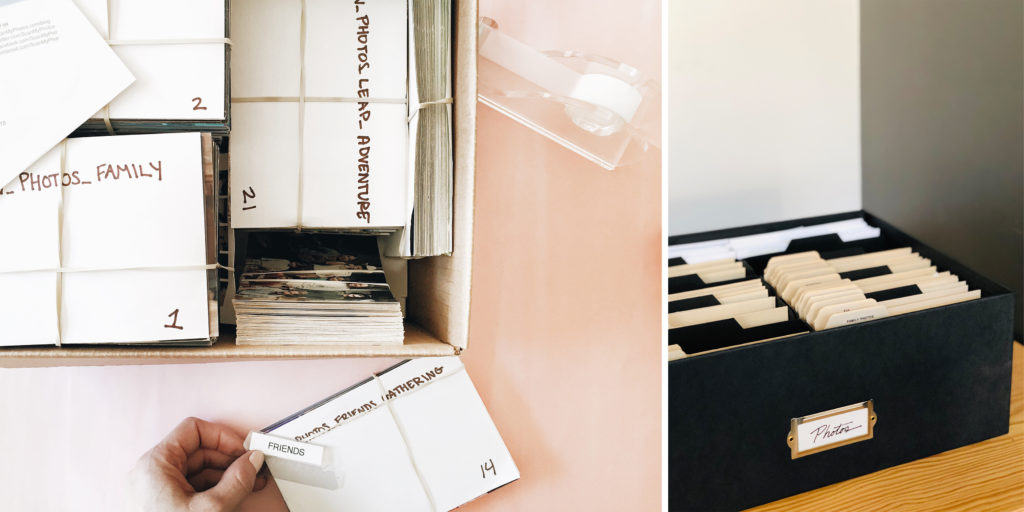
Label
You know we love labels, and we highly recommend adding them to any collection you keep so you can easily access your photos over time.
STYLE: Curate your photo collection
Once your printed photos are organized, backed up, and ready to share with the world, there are so many ways to display them with style.
Curate a Gallery wall
We love a good photo gallery to display your favorite memories. Stay tuned for what we create with Jaime.
Create Photobooks
We love using Mixbook, the most user-friendly, high-quality photo books I have found to display cherished memories. These books are a great way to bring the family together and commemorate special moments. We chose to pull all of Jaime’s fantastic polaroids into one beautiful coffee table book.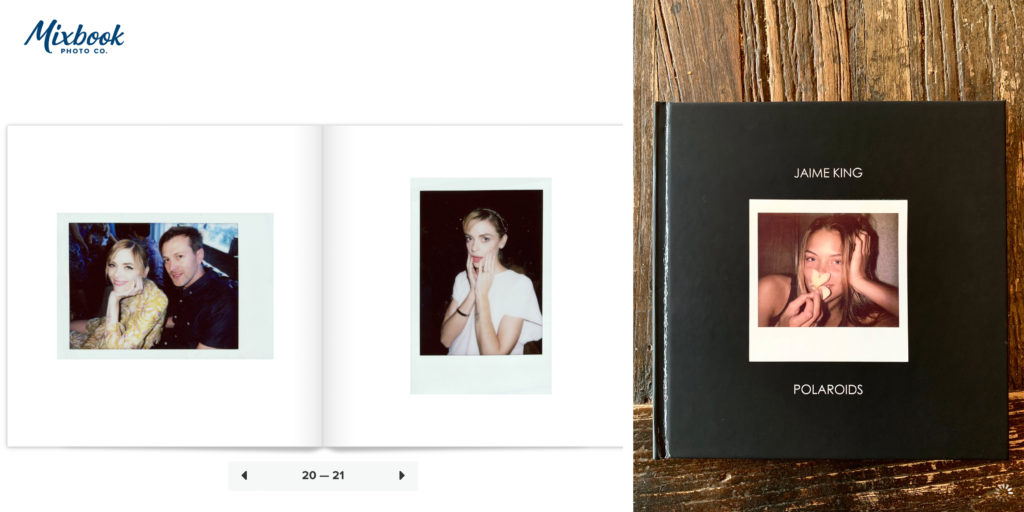
Style your shelves with photos
Once your photos are digitized, select some of your favorites to style your space with and personalize it. In the digital age, we often forget to frame and feature the best moments, but there’s no better way to shift the energy of a space than by bringing in photos that remind us of our best times.
Create a shareable album, video, or slideshow
The world is your oyster when you get your printed photos digitized, but because they have been sitting in boxes for so long, it may be time to share. Create a shareable digital album through iCloud, SmugMug, or another online platform that makes sharing your photos easy. You can even organize memories into visually engaging AI slides for family presentations or special occasions.
Many thanks to Jaime King and Mixbook for this awesome collab. Check out all the best options for creating photobooks over on their site, and check back in volume 2 to see how we use these albums to combine photos and mementos into one album.
If you missed us live on Instagram, stay tuned for more as we talk mementos and how to use your photos and mementos to style your space!
Shop the Archival Photo Boxes here


Nancy and Gary McFarland
It was great to see that you recommend Nancy and Gary McFarland! Nancy is amazing!